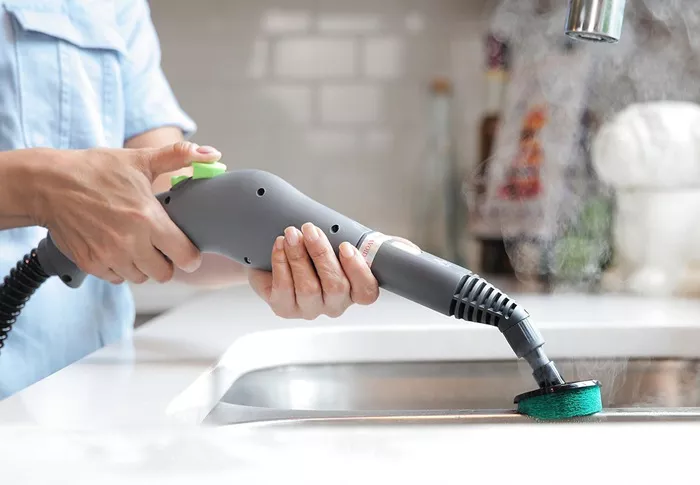
Shark steam mops are popular cleaning machines for household use. They help remove dirt, stains, and germs from your floors with ease. However, like all appliances, they may need to be disassembled for maintenance or cleaning. In this step-by-step guide, we’ll walk you through how to safely disassemble a Shark steam mop, so you can keep it in great condition for long-term use.
Tools You’ll Need for the Job
Before starting, make sure you have the necessary tools for disassembling your Shark steam mop. Here’s what you’ll need:
- Flathead screwdriver
- Phillips screwdriver
- Soft cloth or towel
- Water and mild detergent (for cleaning purposes)
- Rubber gloves (optional, for safety)
Step 1: Unplug the Steam Mop
Always make sure your Shark steam mop is unplugged before starting any disassembly. This will prevent any electrical accidents and ensure your safety. Make sure to place the mop on a flat surface where it won’t roll or tip over while you work on it.
Step 2: Remove the Water Tank
The first step in disassembling the mop is to remove the water tank. Follow these steps:
- Locate the water tank at the back of the steam mop.
- Press the release button or lever to detach the tank from the mop.
- Carefully pull the tank away from the main body of the mop.
- Set the water tank aside for later cleaning or refilling.
Step 3: Detach the Mop Head
The next step is to detach the mop head. This is the part that touches the floor and is usually covered with a microfiber cleaning pad. To remove it:
- Locate the button or latch that secures the mop head to the handle.
- Press the button or release the latch to unlock the mop head.
- Gently pull the mop head off the handle, ensuring you do not force it.
Step 4: Unscrew the Handle
Now that the mop head and water tank are removed, it’s time to work on the handle. The handle is typically secured with screws that need to be unscrewed to fully disassemble the mop. Follow these steps:
- Use a Phillips screwdriver to unscrew the screws located at the base of the handle.
- Carefully lift the handle off the main body of the mop.
- Set the handle aside for cleaning or maintenance.
Step 5: Clean the Steam Mop Components
After disassembling your Shark steam mop, it’s important to clean the components thoroughly. This will ensure that your mop continues to work efficiently. Here’s how to clean each part:
- Water Tank: Use warm water and mild detergent to clean the inside of the tank. If necessary, scrub with a soft cloth to remove any build-up.
- Mop Head: The mop head can be cleaned by wiping it with a damp cloth. For more stubborn stains, use a mild detergent.
- Handle: Clean the handle by wiping it down with a damp cloth. Make sure no moisture gets into the electrical components.
Step 6: Reassemble the Steam Mop
Once all parts are clean and dry, it’s time to reassemble the Shark steam mop. Here’s how:
- Reattach the handle by aligning it with the main body and securing it with screws.
- Attach the mop head by locking it into place with the button or latch.
- Reinsert the water tank back into its slot, making sure it clicks into place.
Step 7: Test the Mop
After reassembling the mop, plug it back in and test it to make sure everything is working properly. Check for steam production, and make sure the mop head is securely attached. If you notice any issues, you may need to disassemble it again to troubleshoot further.
Common Issues and How to Fix Them
Here are a few common problems that may arise with your Shark steam mop and how to fix them:
- No steam: Check that the water tank is properly filled and attached. Also, make sure the steam valve isn’t clogged.
- Leaking water: Ensure that the water tank is properly sealed. If there’s a crack or damage, it might need replacing.
- Weak steam: Clean the steam nozzle and check for mineral build-up inside the mop.
When to Seek Professional Help
If you continue to experience issues with your Shark steam mop, or if you notice parts are damaged beyond repair, it may be time to contact customer service or a professional repair technician. Always follow the manufacturer’s instructions to ensure your mop operates at its best.
Maintaining Your Shark Steam Mop
Regular maintenance will keep your Shark steam mop in top condition. Here are a few tips for maintaining your mop:
- Always empty the water tank after each use to prevent mold and bacteria growth.
- Clean the mop head after every use to ensure optimal cleaning performance.
- Periodically check for blockages in the steam nozzle and clean them with a soft brush.
By following these simple steps, your Shark steam mop will continue to provide excellent cleaning results. A well-maintained mop can last for years, ensuring you get the most value from your investment.
Conclusion
Disassembling a Shark steam mop is easy and can help maintain its performance. By following this guide, you can safely and efficiently disassemble, clean, and reassemble your steam mop, keeping it in top condition. If you’re looking for more information on steam cleaner brands, steam cleaner types, or steam cleaner uses, be sure to check out more resources online.
Related topics:
- 10 Best Carpet Cleaning Machines for Rent
- What Does a Steam Vacuum Do?
- How to Clean Laminate Floors with a Steam Mop?

